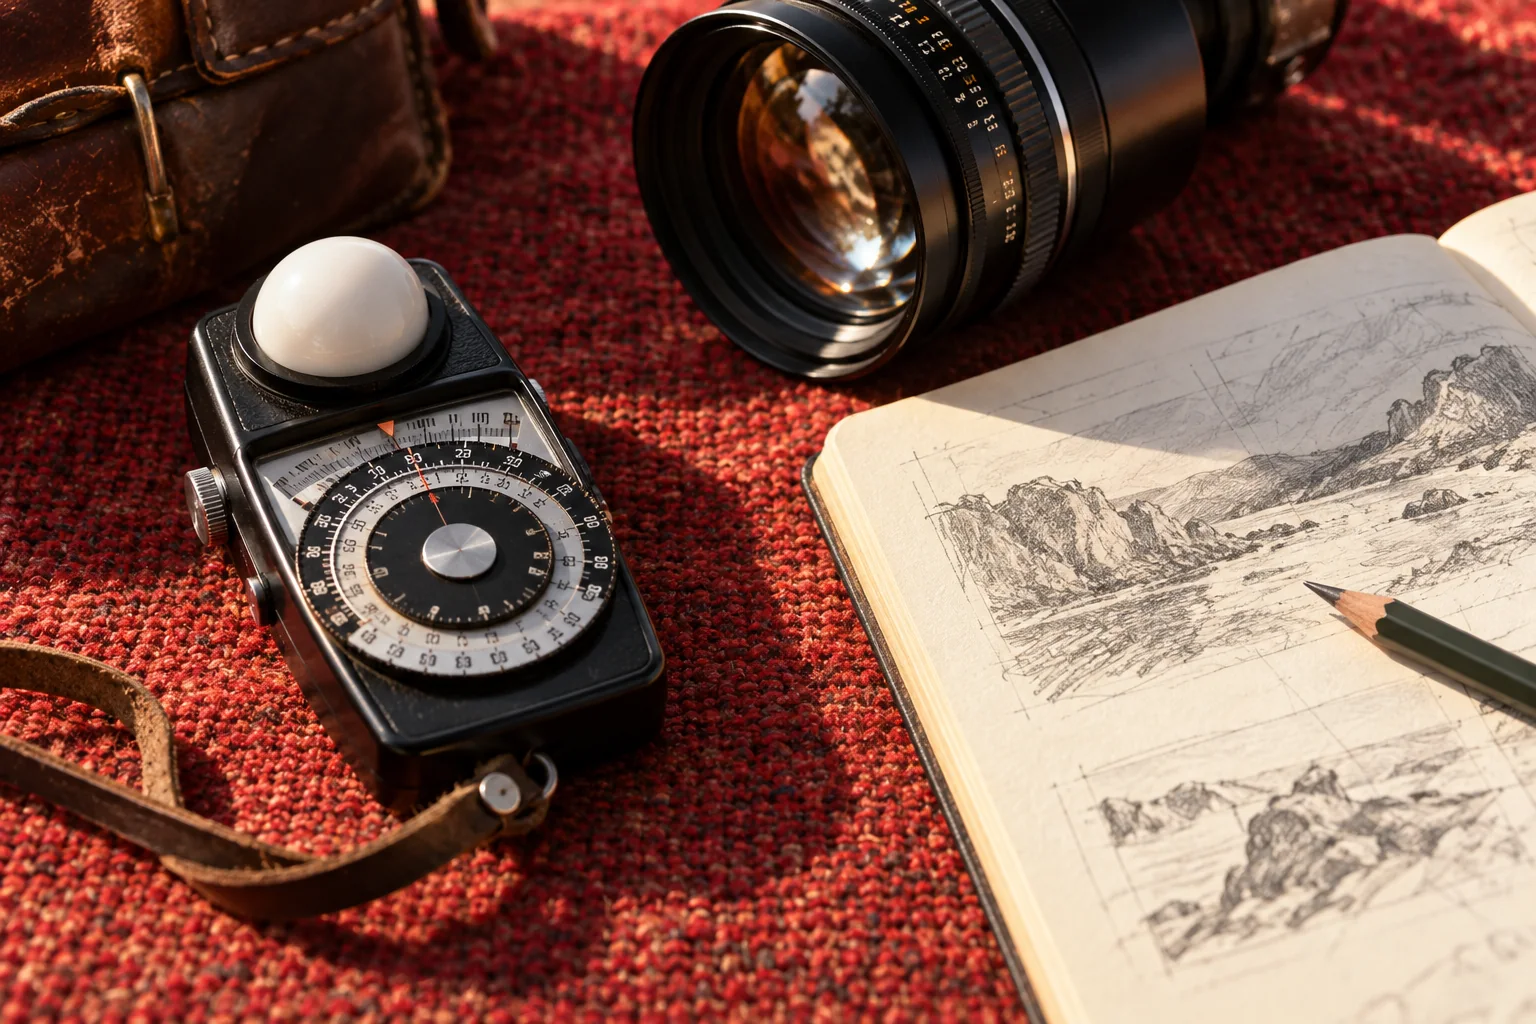
What catches your eye?
Choose one relationship: an edge against a shadow, a surface against a colour. Write the observation before reaching for the camera.
Build a visual brief →An independent visual fieldguide
Turn a passing observation into an image with intention. Explore the small decisions that give a photograph its voice.
Step inside the studio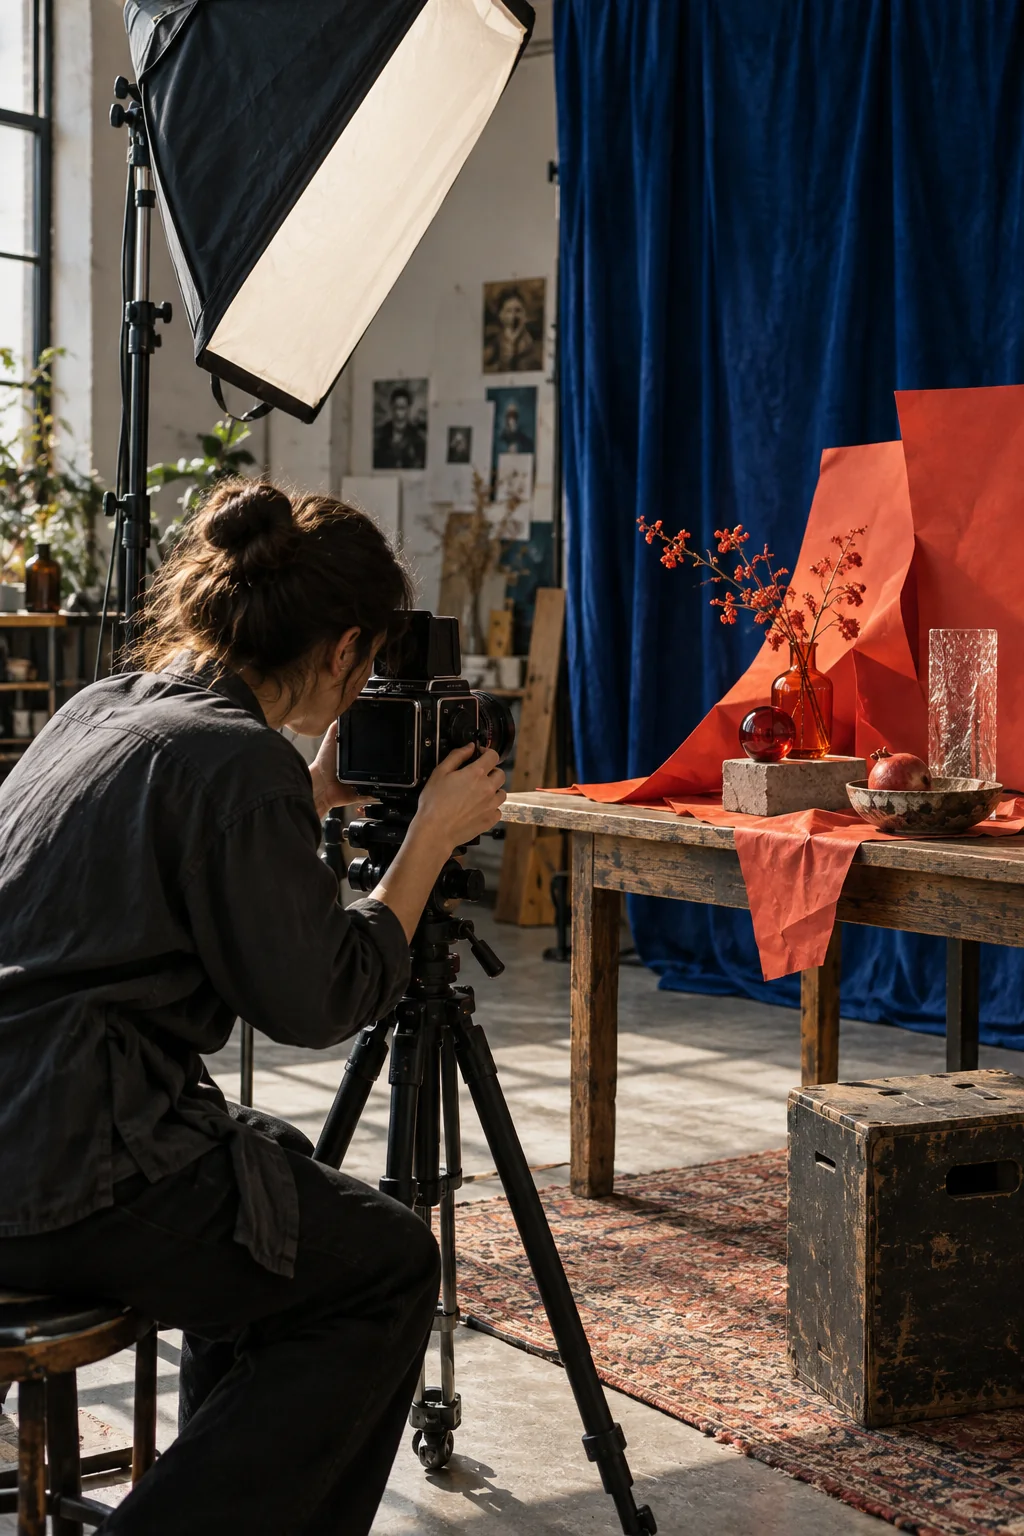

Choose one relationship: an edge against a shadow, a surface against a colour. Write the observation before reaching for the camera.
Build a visual brief →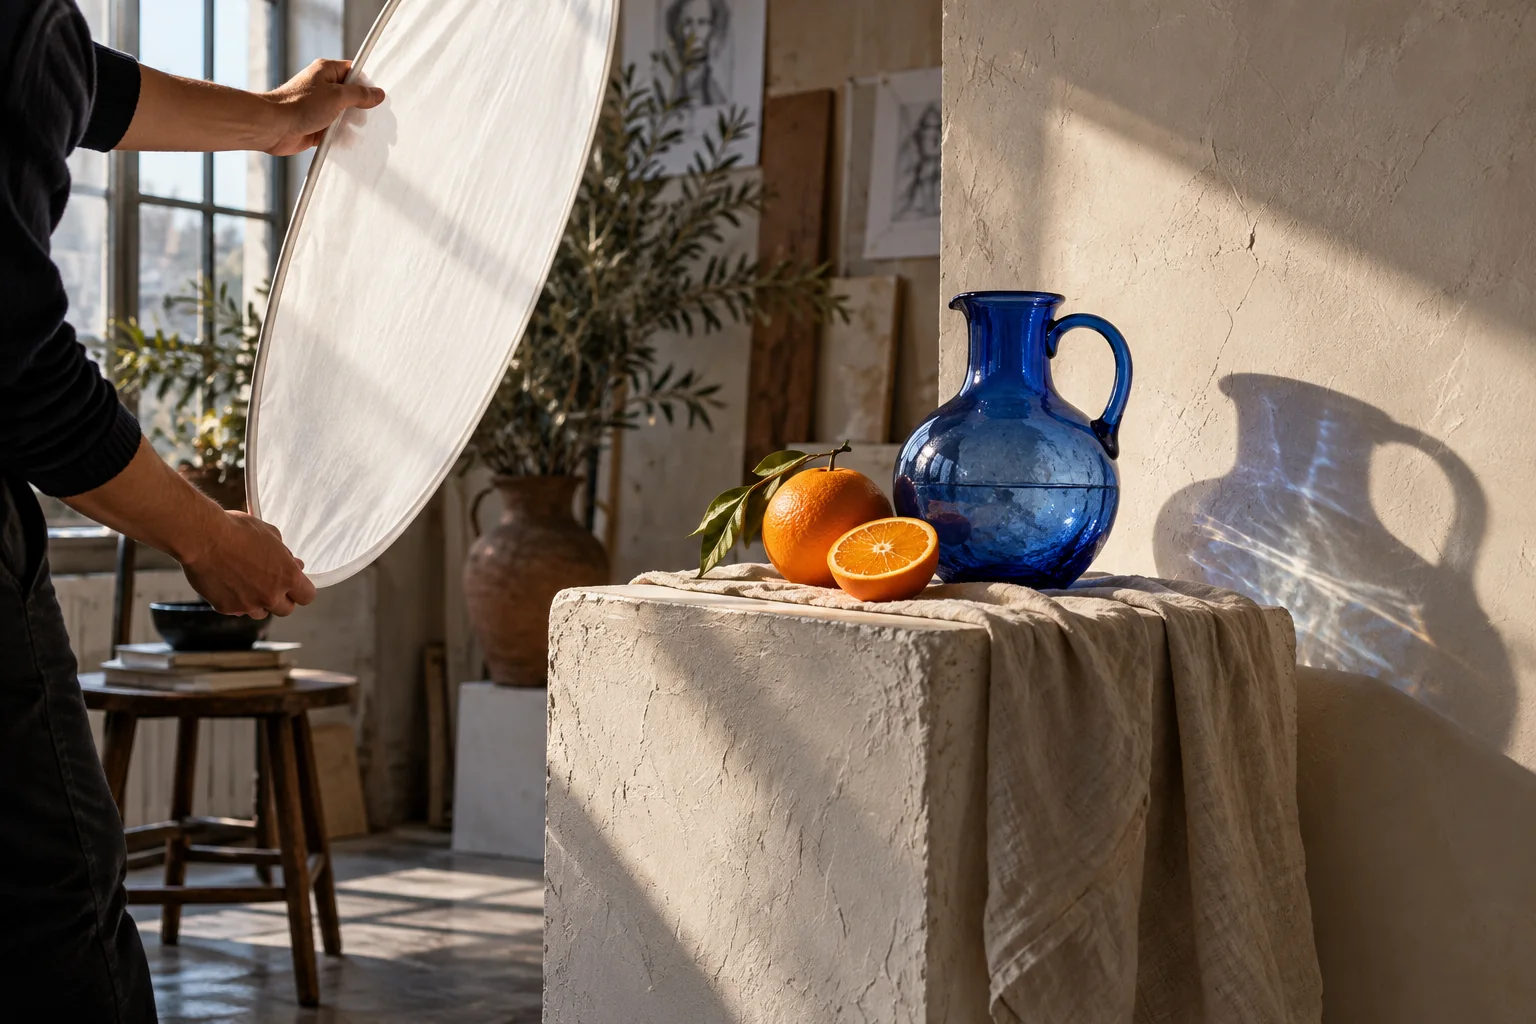
Keep the subject still. Move one source or a reflector. Compare the shape of the shadow and the way the material reveals itself.
Read the light study →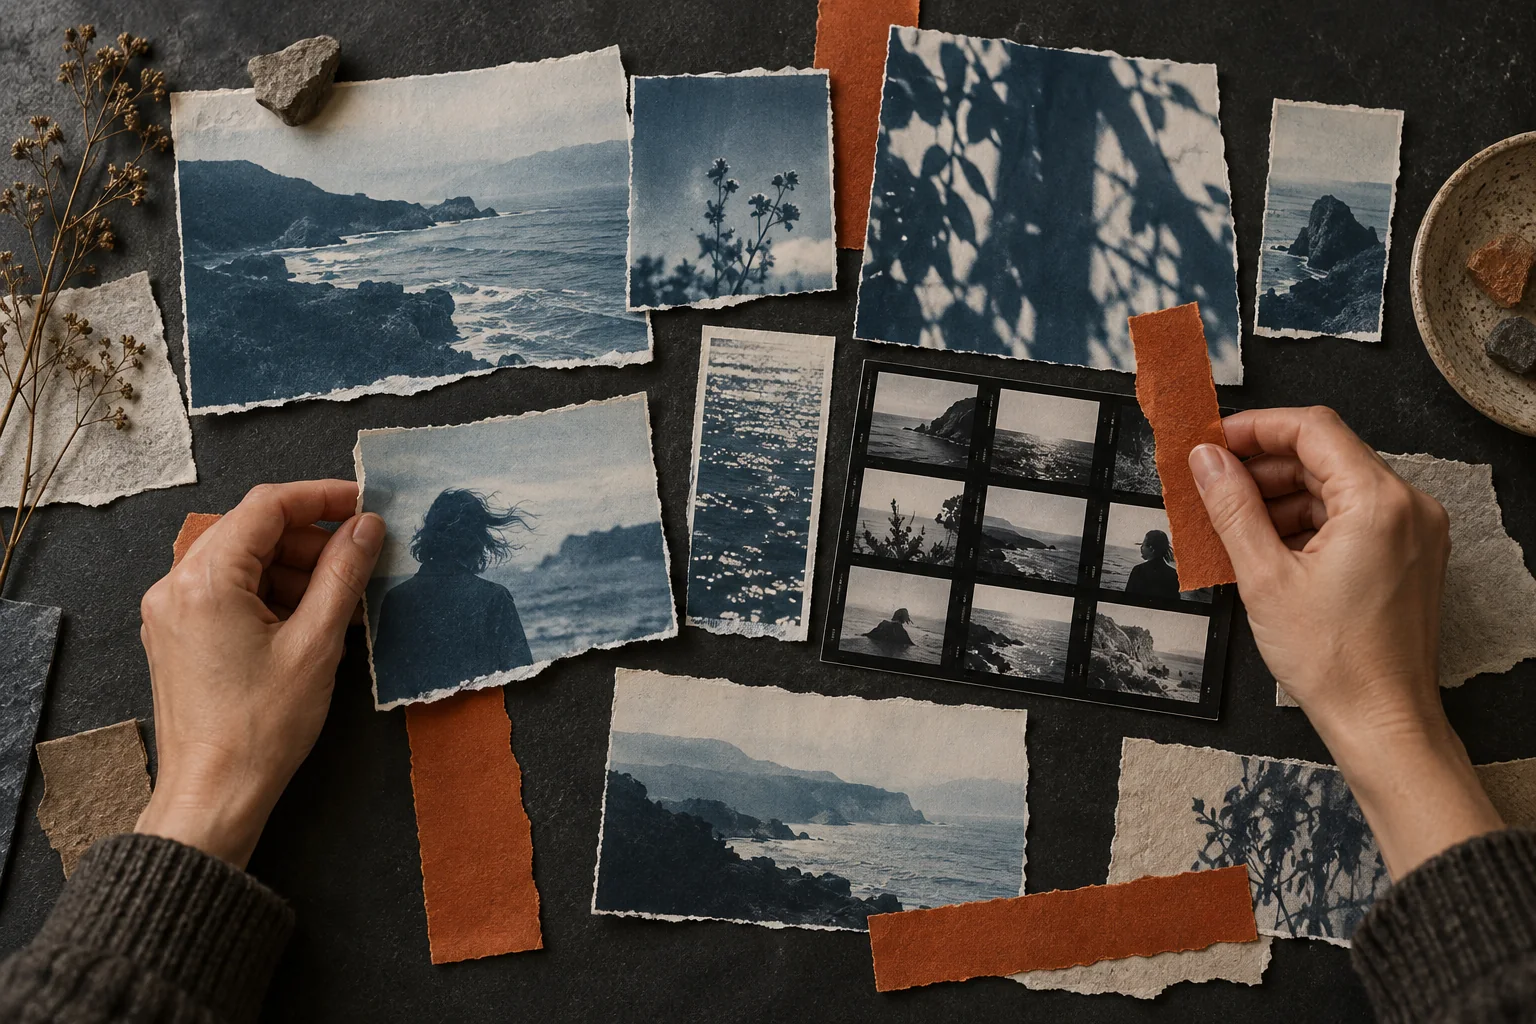
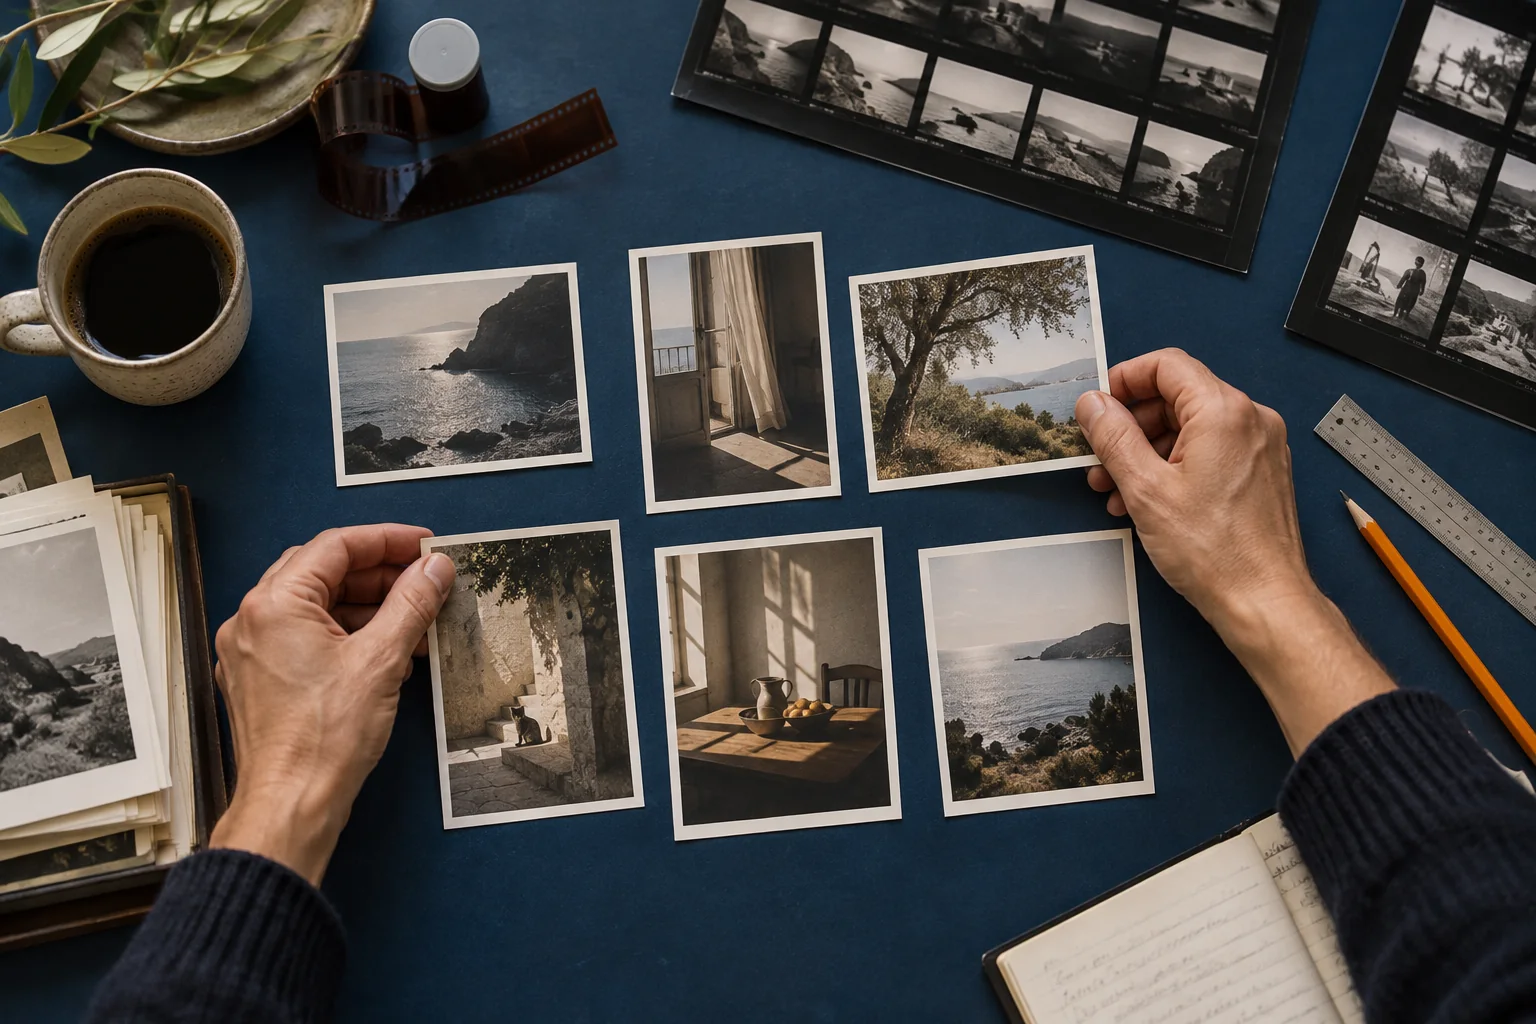
Print small. Work with distance, rhythm and interruption. A quiet image can become the hinge between two louder ones.
Make a five-frame story →02 / Framing lab
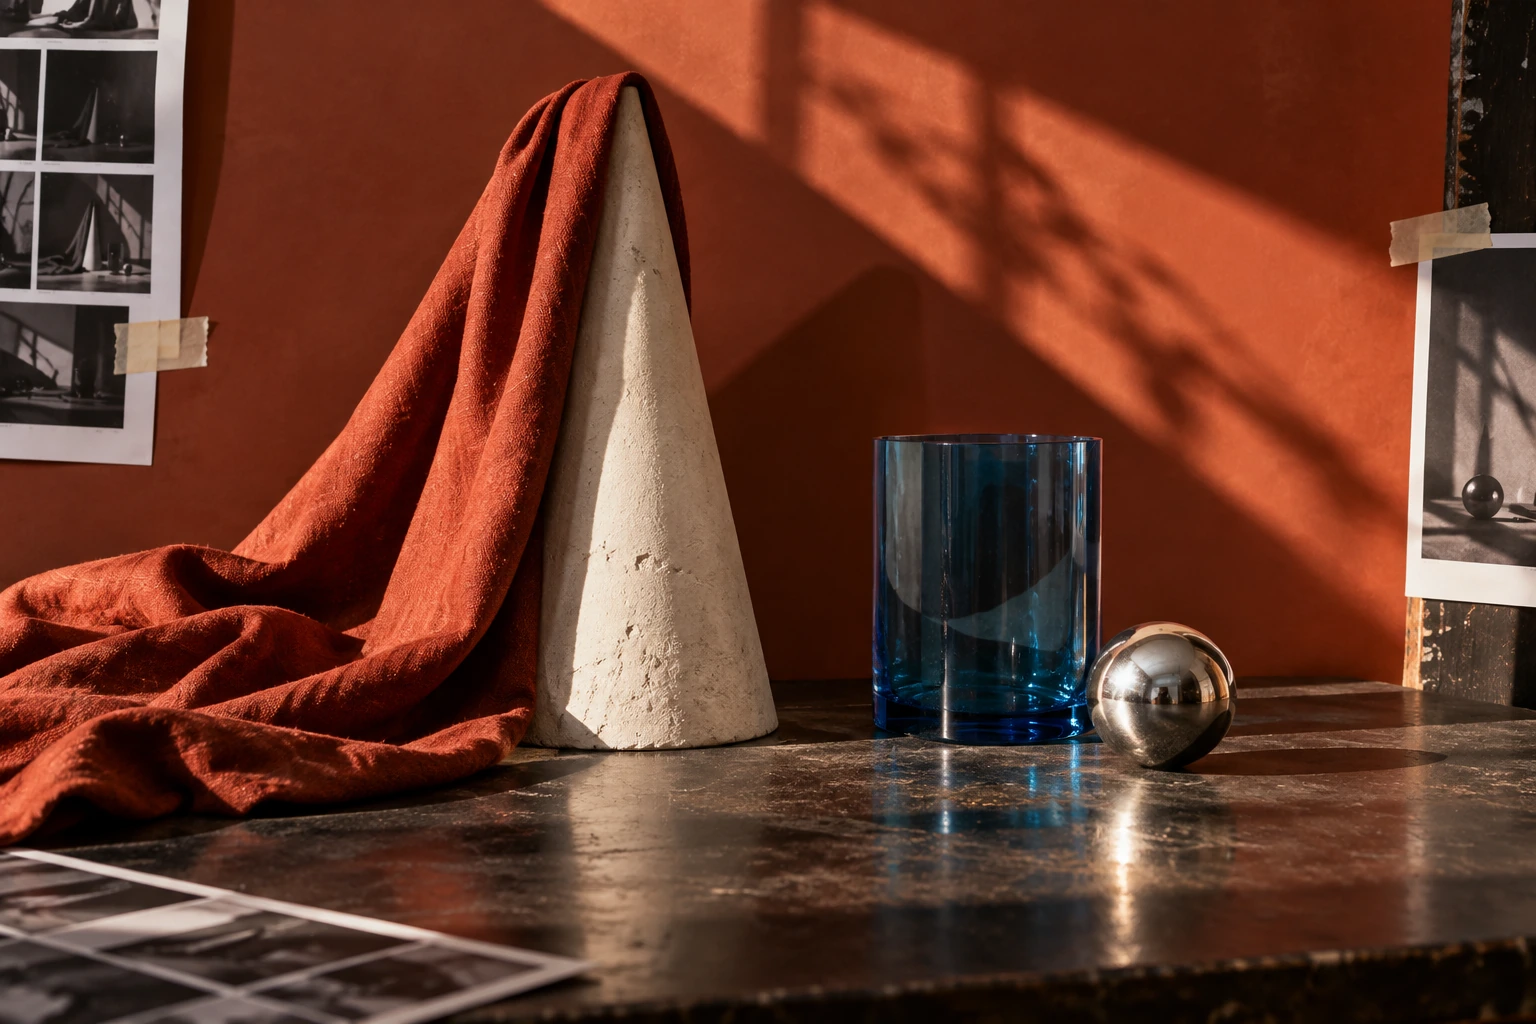
Compare three crops of the same study. The scene stays still; the relationship between its objects shifts.
Choose a frame
The horizontal frame lets the glass, fabric and shadow share the scene. Look at the quiet distance between them.
Try it yourself: keep your camera still and make three crops before moving the objects.
Ask about this exercise
02 / Read the light
A bright object is not necessarily a clear image. The difference between lit and unlit surfaces gives the eye something to read.
Side light describes texture. Front light flattens it. Back light can turn a familiar object into a silhouette. Make a frame in each direction before deciding what your story needs.
Move a small lamp closer and watch the fall-off across the scene. Change only the distance, then compare the brightest surface with the background.
A translucent screen softens the transition at a shadow edge. Compare direct and diffused light without moving the subject; retain the version that communicates the material.
03 / The edit is a second composition
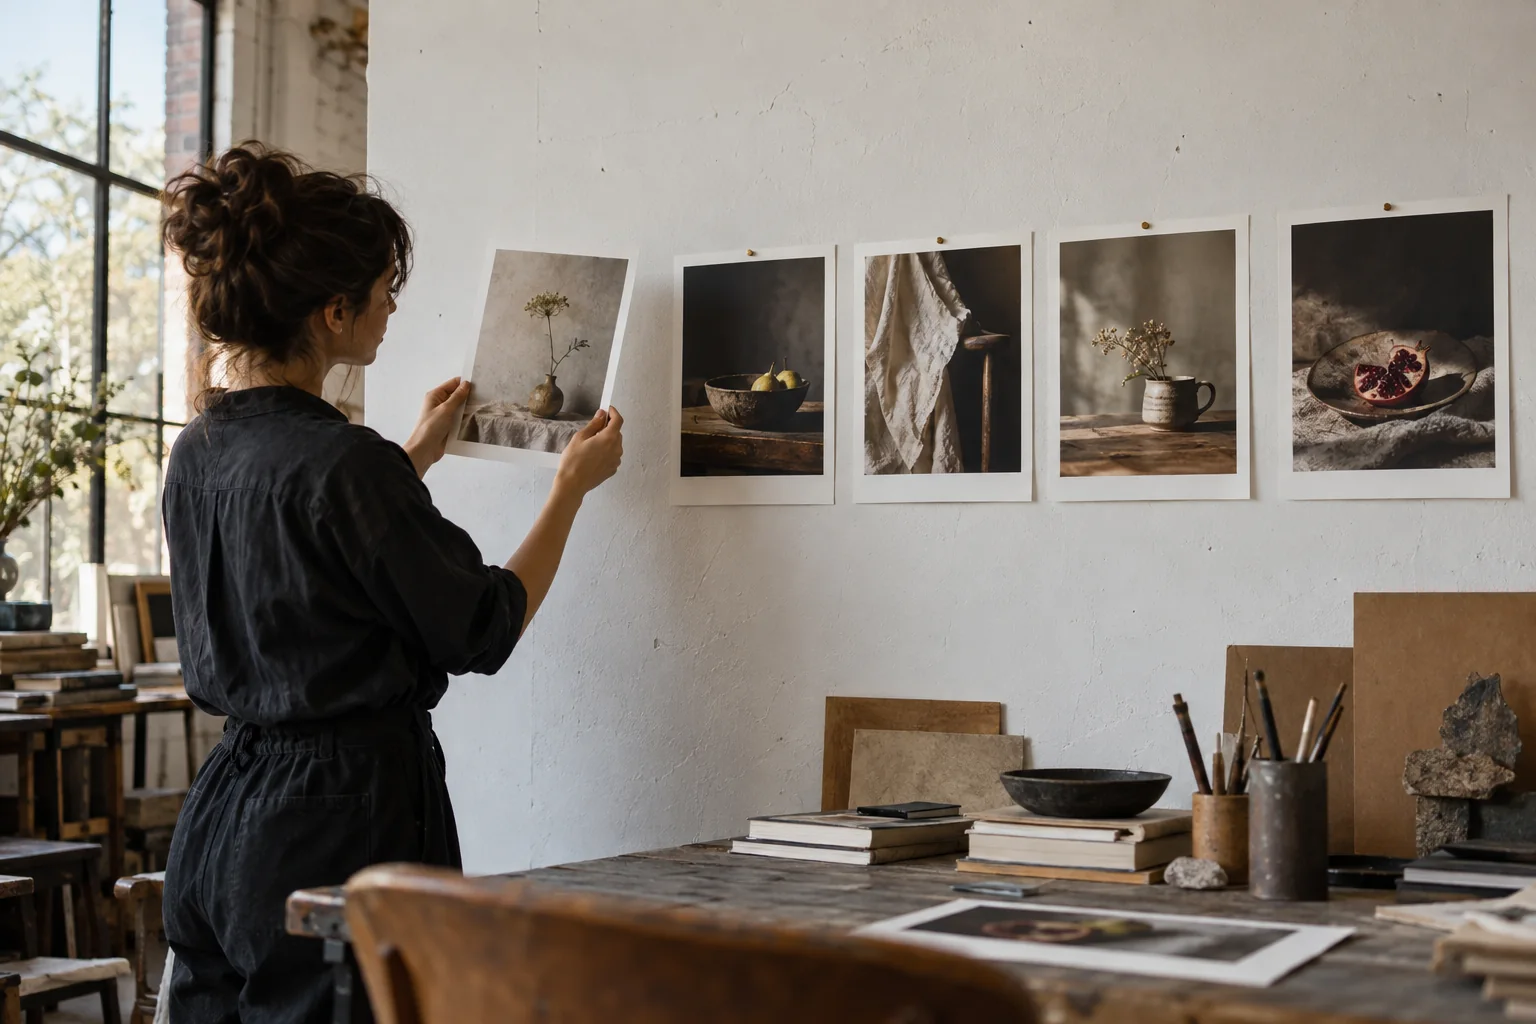
Offer enough context to enter the scene.
Move toward one particular relationship.
Change distance, light or visual weight.
Echo a shape without repeating the image.
End with something worth looking at again.
04 / An exercise in restraint
Make a still life with three materials and one light source. Photograph it, remove one element, and photograph it again. Notice whether the relationship becomes clearer or simply emptier.
“The image is about…” If the sentence describes five unrelated ideas, narrow the experiment before adding another prop.
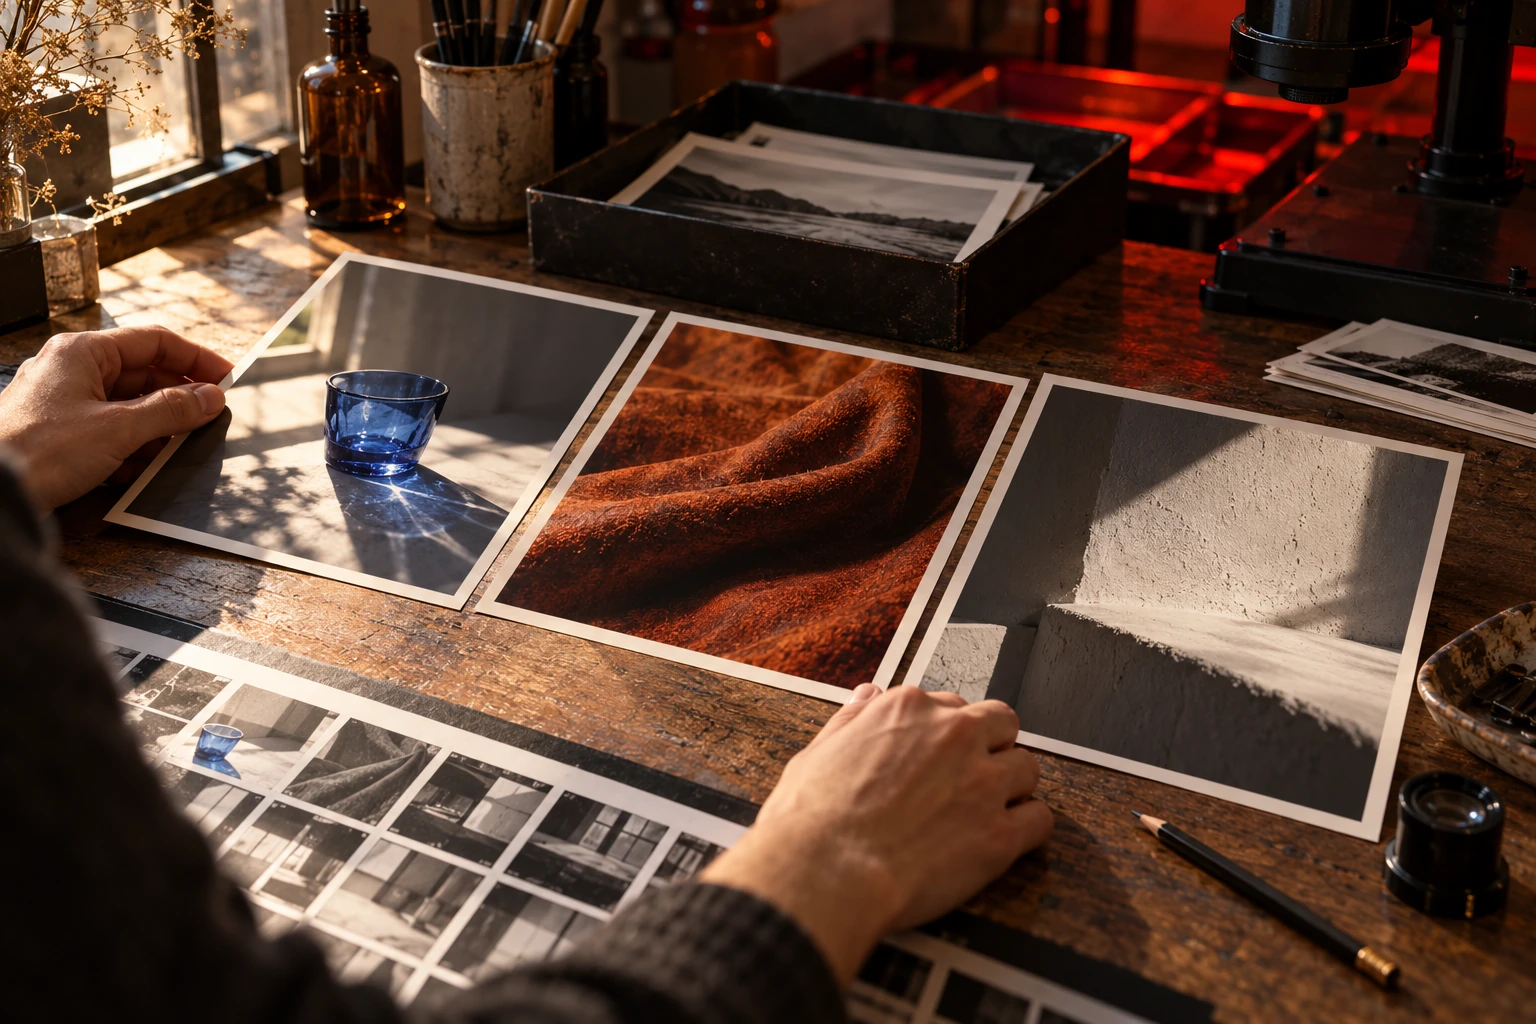
Photograph one object from five positions without moving it. Keep an edge of something else in each frame. Compare how context changes the subject.
Use a single lamp. Let the shadow point toward, divide or connect two objects. Make its role explicit in your composition.
Crop away half of a familiar object. Look for the smallest amount of information that still lets a viewer recognise it.
Make three images of the same material in soft, direct and reflected light. Describe the material with different words after each frame.
4 entries shown.
06 / Before the final edit
Mark the decisions you have actually tested. Reloading starts this review again.
07 / A useful conversation
Ask a viewer what they noticed first. Then ask what relationship they found between the objects. Listen for the gap between what you intended and what the image actually offers.
Replace “I like it” with an observation: “The light pulls me toward the edge.” That gives the maker a decision they can act on.
How this fieldguide works →08 / Practical questions
No. A phone and a controllable light source are enough for these exercises. Keep the device steady and make one deliberate change at a time.
Use a table near a window, two sheets of paper and a few ordinary objects. A smaller setup often makes cause and effect easier to see.
Keep enough to show the idea clearly. For the sequence exercise, five frames are a useful constraint rather than a universal rule.
The images are original illustrative studio scenes. They support the exercises; they are not testimonials, student results or a promise of a particular outcome.
09 / Leave a question
Tell us which exercise you tried, where you got stuck, or what you noticed. A specific observation makes a useful starting point.